I’ve never made bread before. I’ve said “I’m not a baker, I’m a burner” while still learning how to make my cakes and dessert loaves. They were finally mastered but I still had this deep hesitancy at the thought of making bread.
Which means I had to do it.
If anyone else feels the way I do about their first attempt, don’t be scared. I know it feels daunting; the perfect measurements, the waiting and waiting for it to rise, the dreaded reheat the next morning…
This recipe is without all that. And it’s unbelievably good. Just goes to show I should have never waited this long… We could have been enjoying this warm bread all winter long.
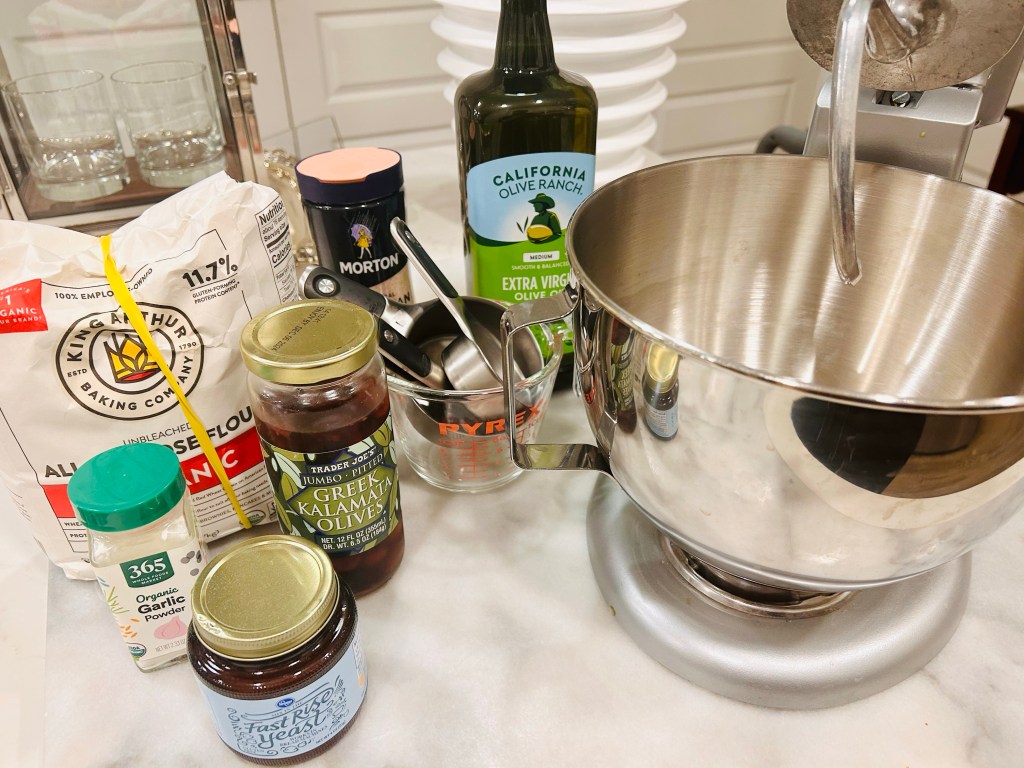
You Will Need:
* King Arthur: Organic All Purpose Flour or Organic Bread Flour
* Fast Rise Yeast (we used Kroger brand)
* Salt (we prefer a smoked salt)
* Organic Garlic Powder
* Dried Rosemary and Thyme
* Pitted Greek Kalamata Olives
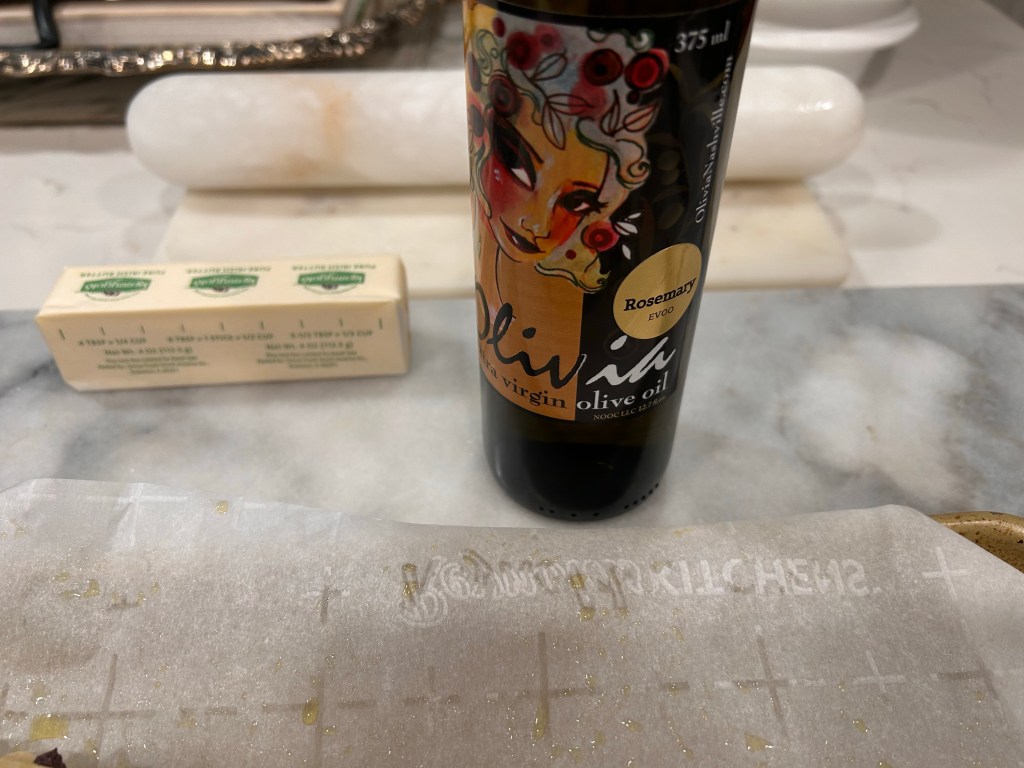
* Extra Virgin Olive Oil
* Unsalted Butter (sticks)
* Dried Basil
In a stand mixer bowl or standard mixing bowl, place these six ingredients:
* 1 1/2 Teaspoons of the Yeast
* 2 3/4 Cups of the Flour
* 1 Cup of Lukewarm / Room Temp Water
* 1 Teaspoon of the Salt
* 1 Teaspoon of the Garlic Powder, 2 Teaspoons of the Rosemary, 2 Teaspoons of the Thyme
* 3 Tablespoons of the Extra Virgin Olive Oil

Stir and combine all those ingredients together by hand or a spatula. Then let rest for fifteen minutes to activate the yeast. While you wait, chop your olives. I am not making standard how many olives to use as some people prefer more or less depending on taste / watching salt intake.
However, if you want to do what I did, I used twenty olives for the large loaf. Cut your olives in quarters and when the fifteen minutes is up, throw those in with the dough.

Run the hook handle on your stand mixer till it combines and the dough no longer touches the sides of the bowl. This took for me about a minute and a half. If working by hand, use additional flour and work with your hand and palm combining for up to five minutes.
i have also used a large silicone spatchula.
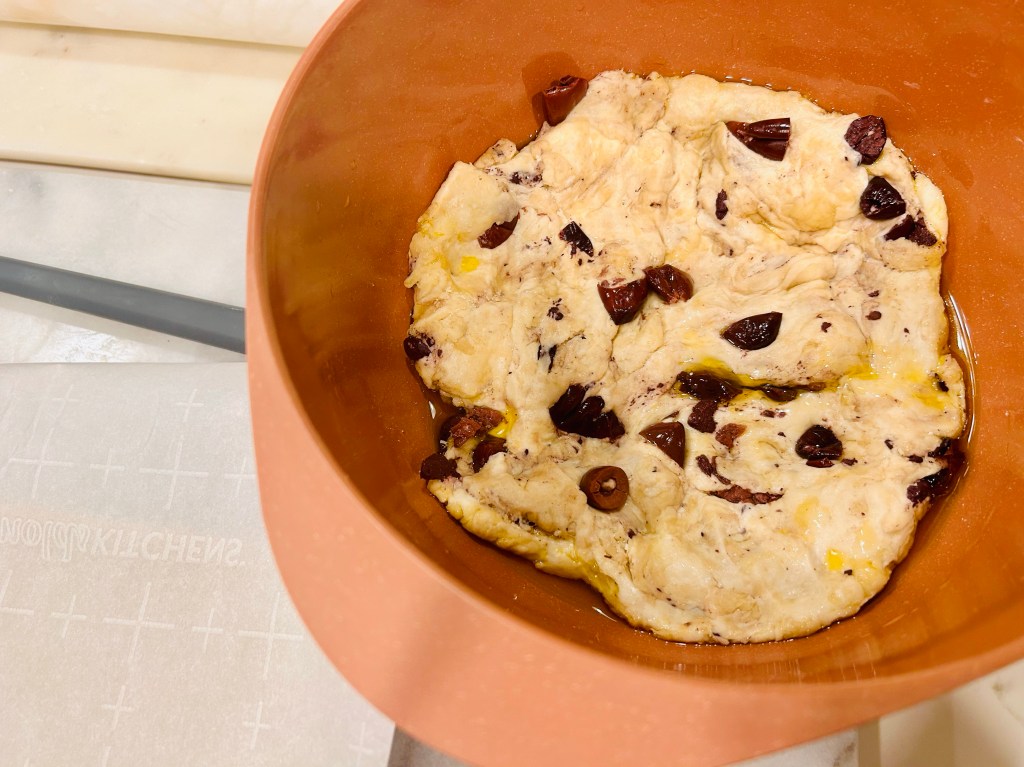
Place two tablespoons of the Extra Virgin Olive Oil in the bottom of a bowl.

Plop your dough on top. Cover and let sit one hour.

I covered first with plastic wrap and then a secured towel as well.
While you wait, take out a stick of the unsalted butter and leave it in its parchment on the counter to soften to room temp.
After one hour, you will see the dough has risen – even if only slightly. That’s ok. Punch down the dough with your fist till the olive oil underneath squirts up and over the top.
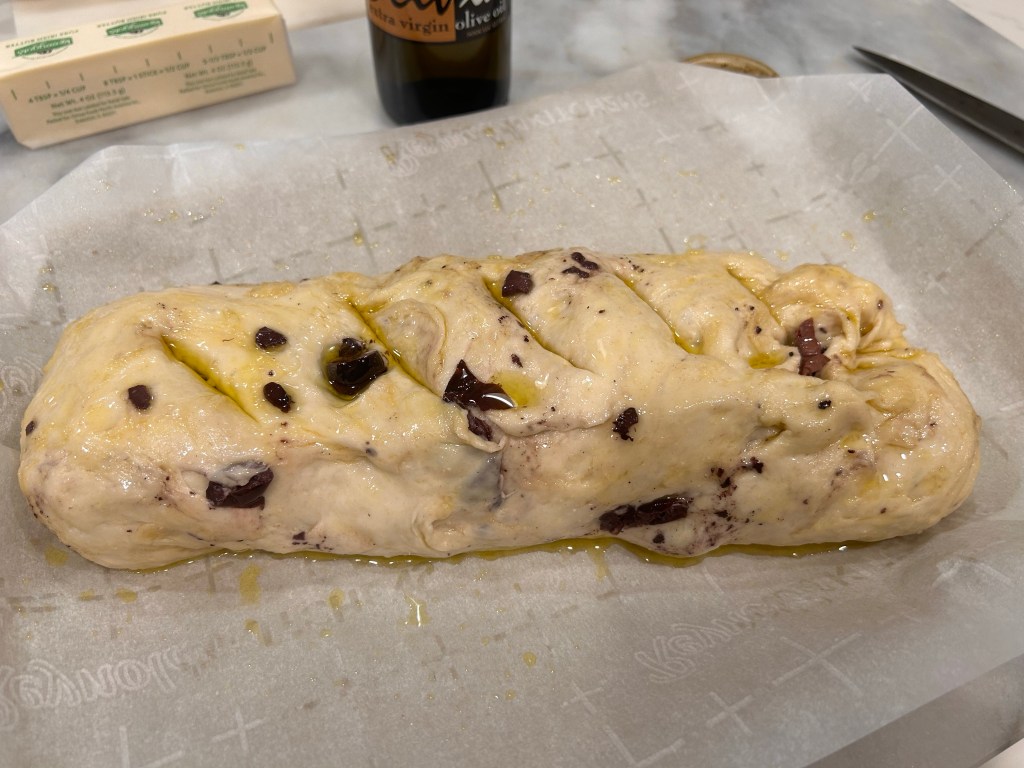
Grab the dough and place it onto some parchment paper on a cookie sheet. Now you can form it however you’d like! I decided to keep this pretty standard yet “rustic”.
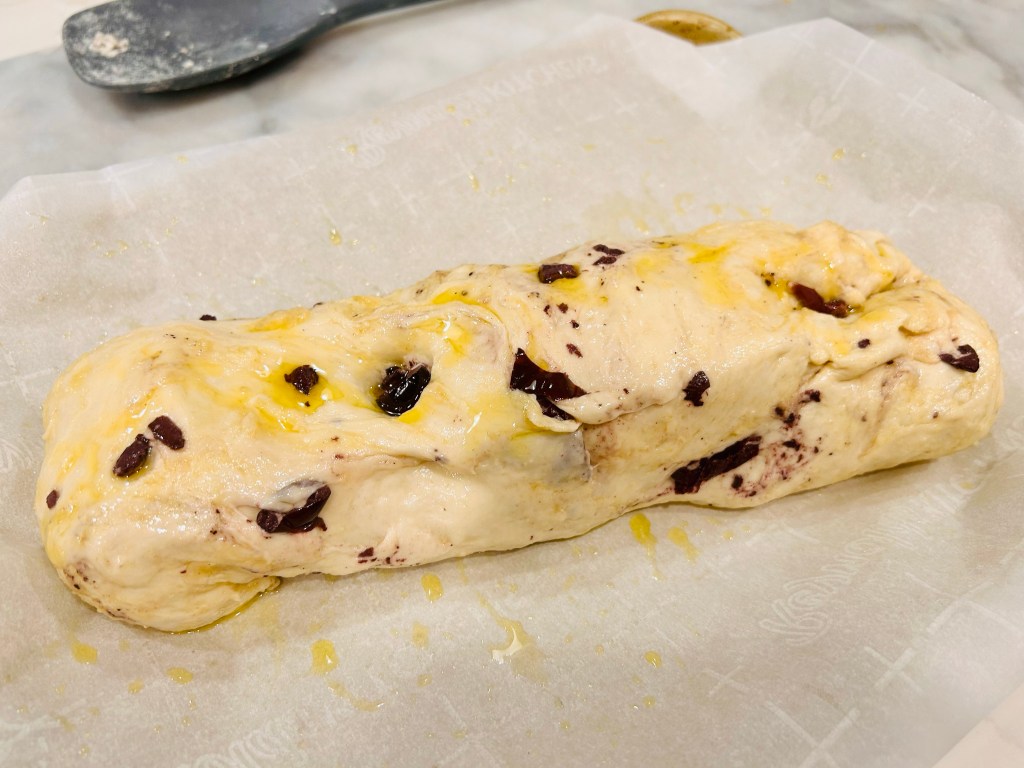
I formed a log shape. If you do as well, pinch / twist a bit and tuck the ends under so they stay smooth.
You can also use a dutch oven, pot, etc.
Drizzle the rest of the olive oil from the bowl over the dough. I happened to have rosemary infused olive oil, not needed but does add just that extra bit of flavor. Place somewhere warm for another sixty minutes. Uncovered. I chose my oven.
While you wait, check on your stick of butter.
If softened, unwrap from its parchment and throw it in that same mixing bowl from earlier.
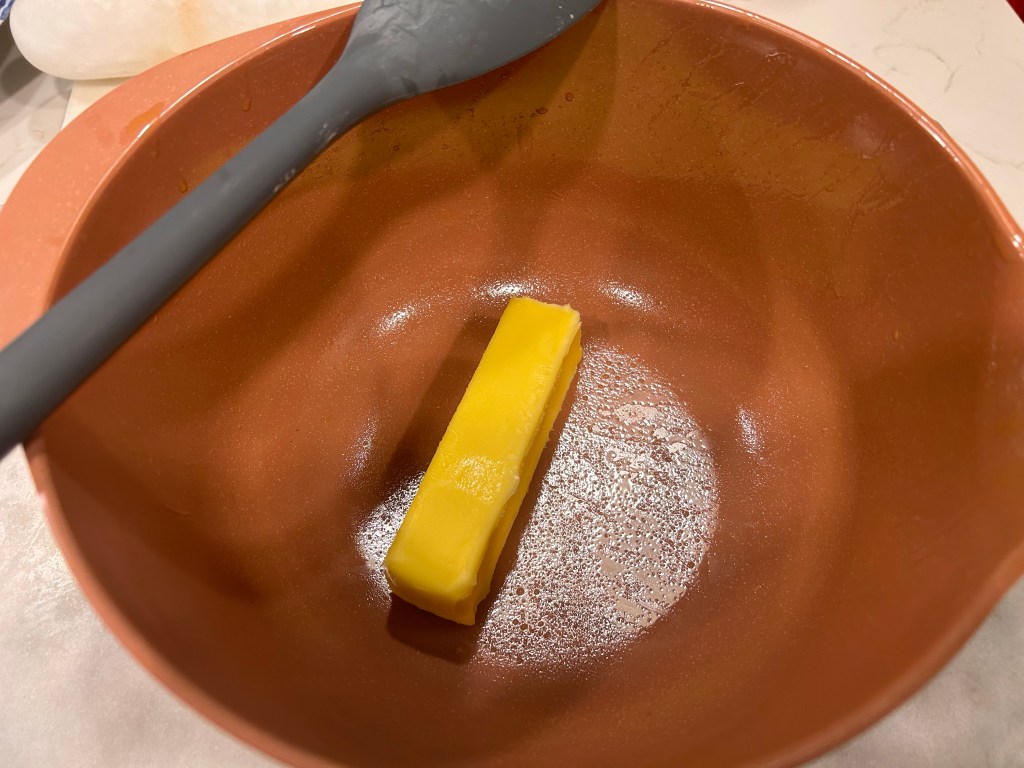
Smoosh it down.

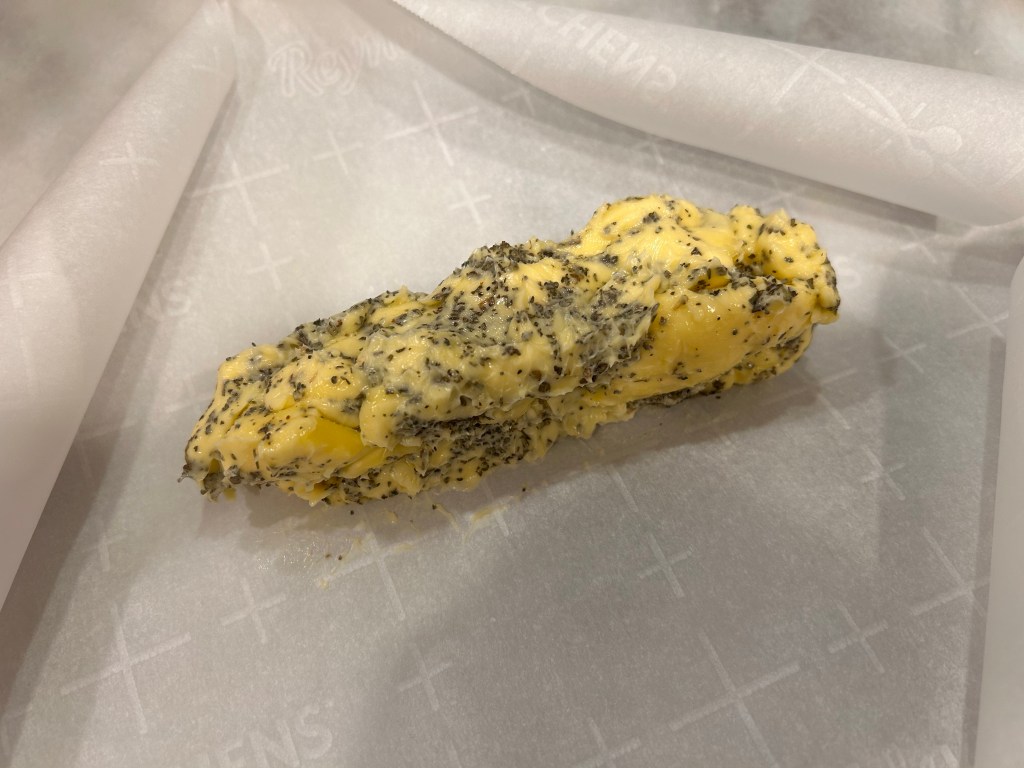
Add half a tablespoon of the dried basil and combine.

Place a piece of parchment down and lay your herb butter on it.
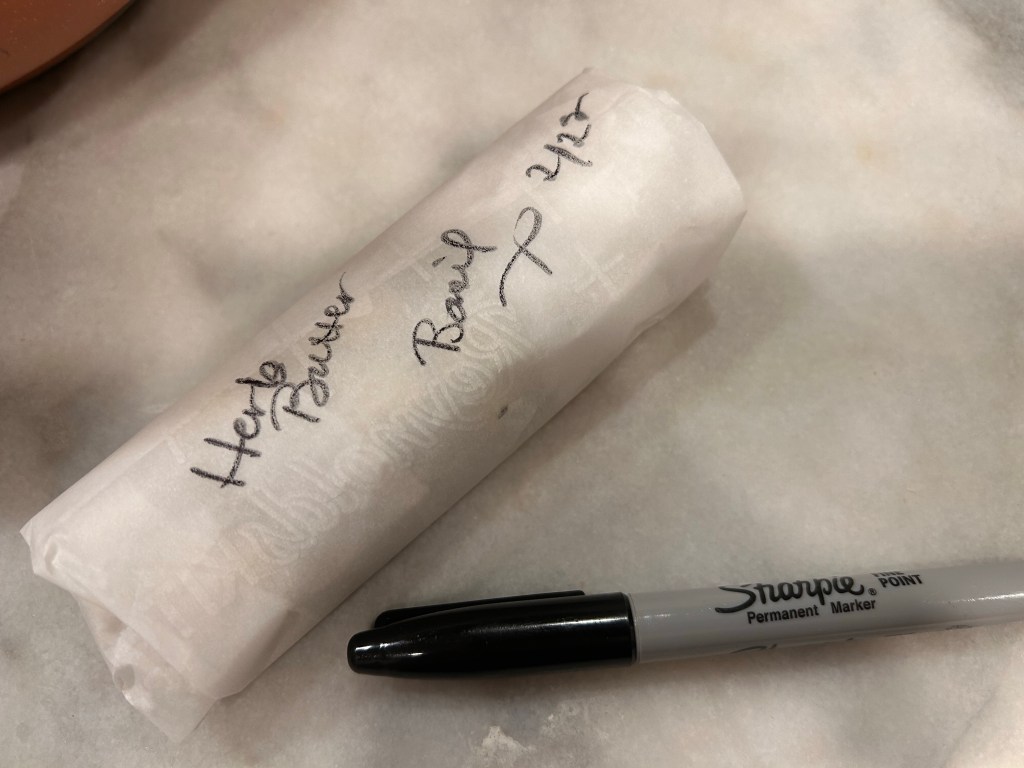
Close over one layer of parchment and smooth and work the butter into a log shape. Finish wrapping the butter up and then label it. 1-3 mo’s in the fridge, up to 1 yr in the freezer (use freezer ziplock).
When the dough is done resting this last time, take a sharp knife and create shallow slits in it.
Pop it in the oven on 400 degrees for thirty minutes.
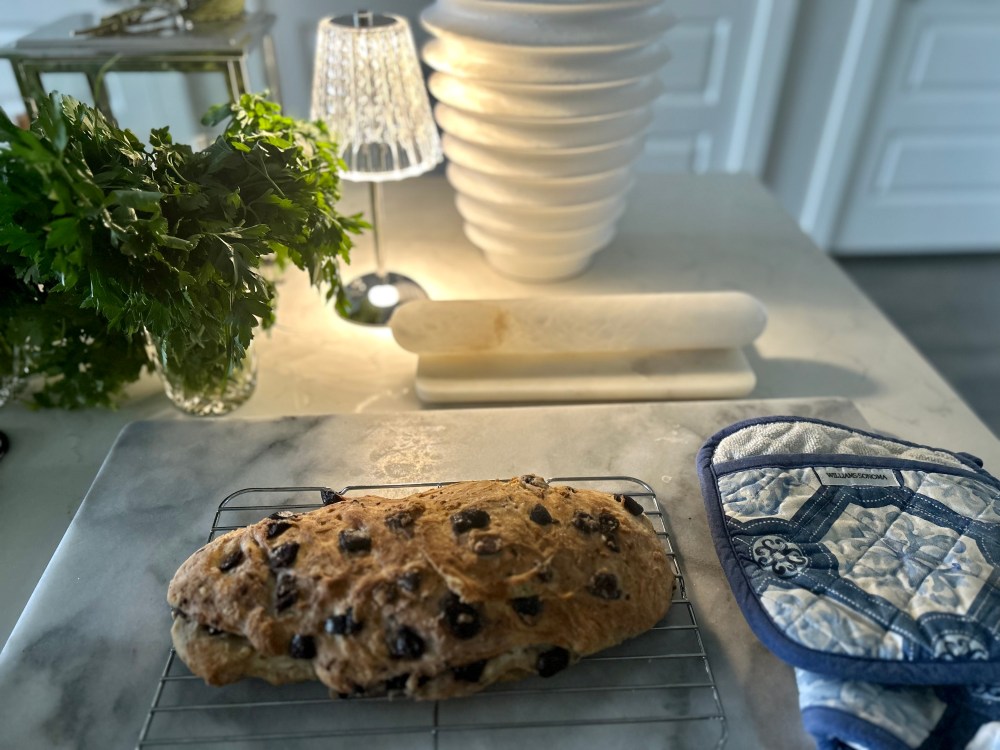
When done, leave it out to cool just a bit so you can handle it and place it on a wire rack before slicing.

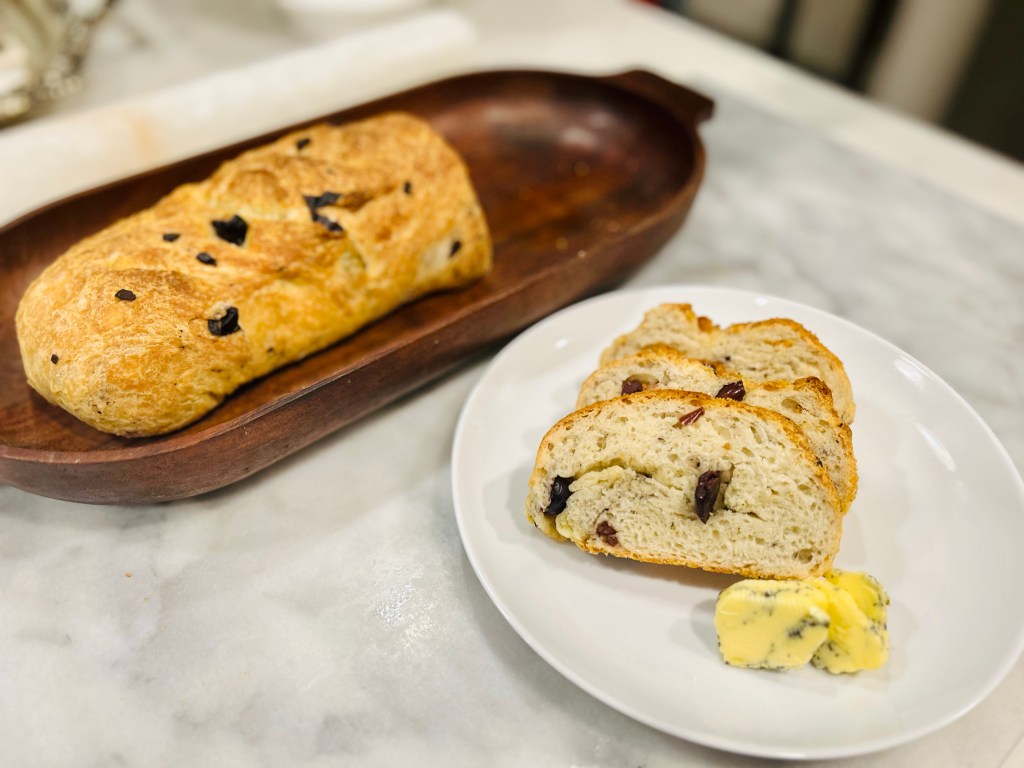
The first thing you will notice is that sweet but savory smell – and then the color. Beautiful chestnut brown with flecks of black olives throughout.

The crust will feel crunchy and hard when you knock your knuckle on the top but a standard knife will slice right through and you’ll notice the doughy warm soft inside. The crust being firm but malleable.

Place it on a bread board or pre-slice and keep warm in a towel… At this point you should take a bite without the butter.
The savory rosemary and thyme with the deep, salty flavor of the olives squished throughout the dough made me wonder why I even made a flavored butter. But then…
We had some warm bites with basil butter and I was done for.

Absolutely incredible.
I wondered how well this would keep overnight and if it would taste the same in the morning…

My recommendation is thus: Store in a ziplock bag – one gallon was large enough for me – releasing as much air as you can. It can be left out on the counter for a few days. Slice two pieces in the morning like I did.
One plain and one with a tab of butter. Place them on a plate and microwave for thirty seconds. The slices tasted exactly as they had the day before, and the butter melted perfectly over the top from the sliced tab.
You can try also toasting the slices. If you decide to batch cook, use plastic wrap and then tinfoil. Label the bread to store for up to six months. Most people will recommend slicing beforehand. You decide.